Manage vCenter with Terraform

This post will explain about what is Terraform and how to use it to manage VMware vCenter Server.
To first understand Terraform we need to understand what is Infrastructure as Code or (IaC).
What is Infrastructure as Code?
Infrastructure as Code is a way of managing and provisioning your infrastructure by using configuration files and templates. These configuration files can be stored in a code repository like Github or GitLab which can be shared across teams, organizations, and/or projects for collaboration.
Having your Infrastructure managed by code reduces the risk of misconfiguration and allows you to create a consistent build of your infrastructure every time. Also, increase the speed of your infrastructure deployment by removing any manual intervention.
What is Terraform?
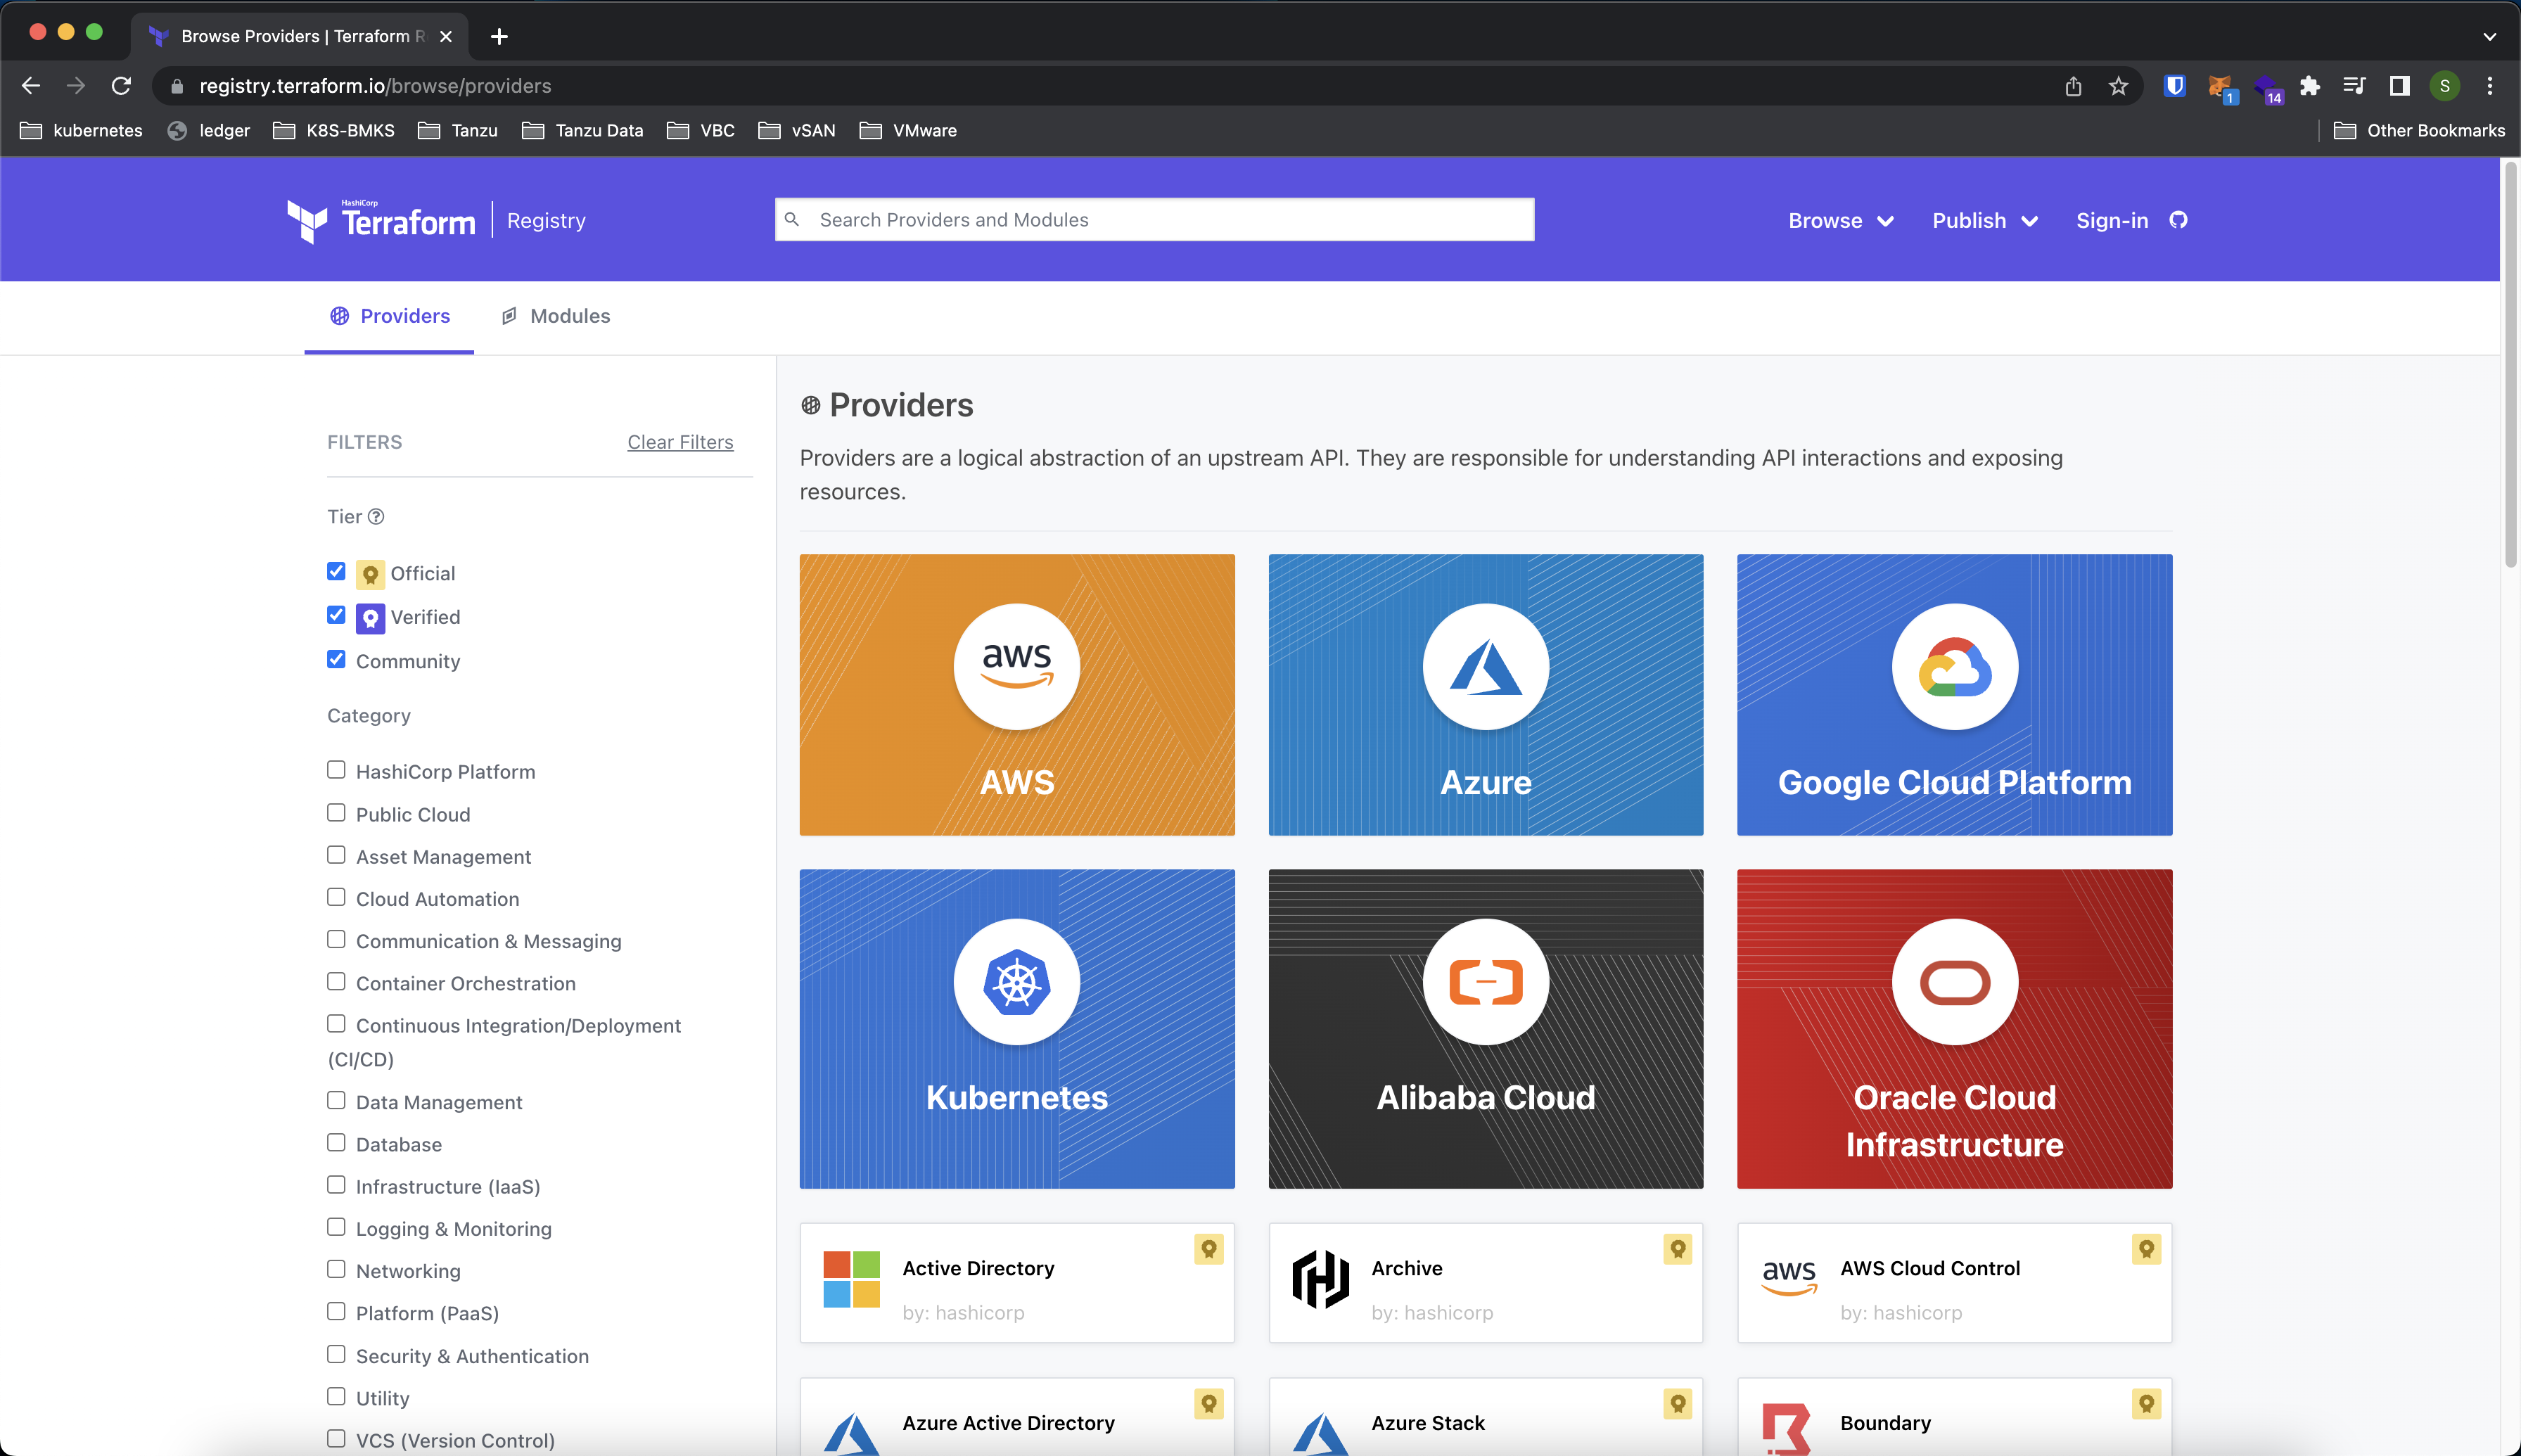
Terraform an Open Source is a tool by HashiCorp. It helps you to create and manage your infrastructure in a declarative way by using the HashiCorp Configuration Language (HCL) with .tf file extension. It is a tool that can be used to create, manage, and destroy your infrastructure. With many integrations with providers like VMware, Google Cloud, AWS, and Azure on its Terraform Registry.

Managing vCenter with Terraform
We will be creating a file called main.tf which will be used to manage the vCenter Server. In the main.tf we specify the vsphere provider which will enable Terraform to manage the vCenter Server and ESXi hosts. You can use this provider to manage almost everything in the vSphere environment, such as the virtual machines, standard switches, distributed switches, datastores, content libraries, and much more.
The vsphere provider requires the user, password, and vsphere_server to be set to manage the environment. You can explore more about the provider by visiting the Terraform Registry
1
2
3
4
5
6
provider "vsphere" {
  user                 = var.vsphere_vcenter_user
  password             = var.vsphere_vcenter_password
  vsphere_server       = var.vsphere_vcenter_ip
  allow_unverified_ssl = true
}
Variables can be stored in a separate file called variables.tf which will be referred to by the main.tf file. We can access variables stored in variables.tf by using the var keyword followed by the variable name.
1
2
3
4
5
6
7
8
9
10
variable "vsphere_vcenter_user" {
  description = "vSphere vCenter username"
  default     = "administrator@vsphere.local"
}
variable "vsphere_vcenter_password" {
  default     = "password"
}
variable "vsphere_vcenter_ip" {
  default     = "vcenter1.seakcloud.com"
}
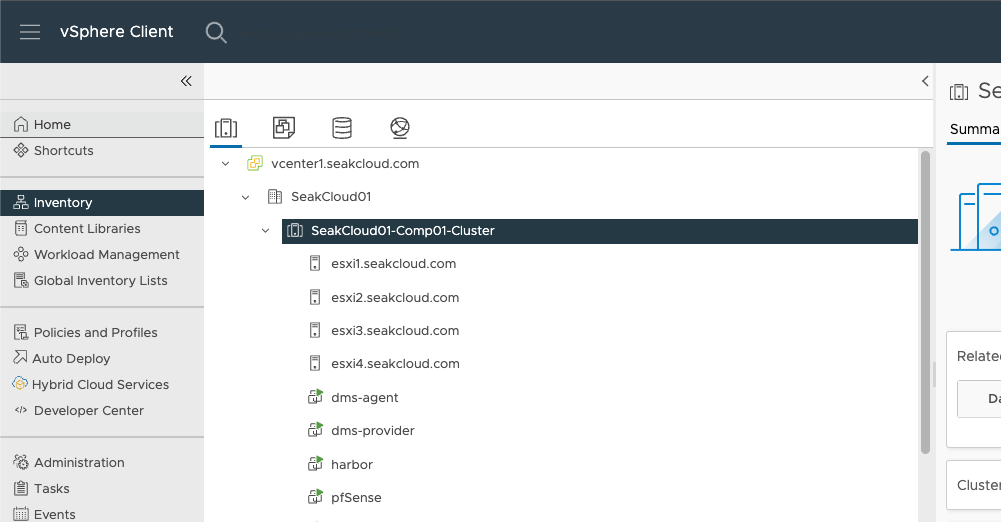
After initializing the provider, we can reference the existing data center by using the data keyword with the name of the data center.
We can specify the datacenter_id by referencing back to the vsphere_datacenter that we have just created to manage the Datastore, Compute Cluster, and Network in that data center. The name values are used to reference all of the objects in the vCenter Server.
1
2
3
4
5
6
7
8
9
10
11
12
13
14
15
16
17
18
data "vsphere_datacenter" "datacenter" {
  name = "SeakCloud01"
}

data "vsphere_datastore" "vm_datastore" {
  name          = "datastore1"
  datacenter_id = data.vsphere_datacenter.datacenter.id
}

data "vsphere_compute_cluster" "cluster" {
  name          = "SeakCloud01-Comp01-Cluster"
  datacenter_id = data.vsphere_datacenter.datacenter.id
}

data "vsphere_network" "network" {
  name          = "VM Network"
  datacenter_id = data.vsphere_datacenter.datacenter.id
}

Once we have all the components needed, we can define the resource which will be the object that gets spun up in our cluster.
In this demo, we will be creating a vsphere_virtual_machine resource which is a virtual machine. In the vsphere_virtual_machine template we can define the vm name, the number of CPUs, memory, datastore, and network.
resource_pool_id is used to specify the resource pool in which the VM will be created in this case the SeakCloud01-Comp01-Cluster resource pool.
Virtual disks are managed by the disk block, both label and size ( In GB ) must be specified. More than 1 disk block can be added to create multiple disks configuration.
Optional parameters are also available, such as the guest_id to set the Guest OS of the vm and, cdrom which can be used to mount the ISO image to the vm.
In this case, the ISO image is the ubuntu-18.04-desktop-amd64.iso which is available in the iso folder from the datastore named datastore1.
1
2
3
4
5
6
7
8
9
10
11
12
13
14
15
16
17
18
19
20
21
22

resource "vsphere_virtual_machine" "vm" {
  name             = "ubuntu-desktop-18.04"
  resource_pool_id = data.vsphere_compute_cluster.cluster.resource_pool_id
  datastore_id     = data.vsphere_datastore.vm_datastore.id
  num_cpus         = 8
  memory           = 4096
  guest_id         = "ubuntu64Guest"
  network_interface {
    network_id = data.vsphere_network.network.id
  }

  cdrom {
    datastore_id = data.vsphere_datastore.vm_datastore.id
    path         = "/iso/ubuntu-18.04.1-desktop-amd64.iso"
  }

  disk {
    label = "disk0"
    size  = 20
  }
}
Here is the final main.tf file which will be used to provision a new virtual machine.
Once we have all of our Terraform configuration files ready, run terraform init to download any providers that are required for the Terraform.

Next, run terraform plan to plan the changes that will be made to the infrastructure. Then run terraform apply to apply the changes to the infrastructure. You will be prompt to type yes to continue or use terraform apply -auto-approve to skip the process.

After applying the changes, we can see the newly created Virtual Machine in the vCenter Server UI.
